Getting Started
Welcome to the getting started tutorial for Mobius Forensic Toolkit! This tutorial will guide you through the steps to begin using Mobius Forensic Toolkit on your machine.
1. Introduction
Open source forensic tools are often specialized in a specific domain. Each tool aims to cover a small part of the investigative scope, and some are quite effective at this. However, these tools often do not integrate well with one another, and their development is made more difficult by the lack of shared code, which reduces the opportunity for code reuse. Additionally, the output produced by these tools is not standardized, and many of them only offer a command line interface.
The Mobius Forensic Toolkit is a framework for building forensic tools. It is written in C++ and Python, and is highly customizable through extensions, which are programs that can access shared services, the program environment, and the case model.
This tutorial is not intended to be a comprehensive guide to the tools available in Mobius Forensic Toolkit, but rather a practical introduction to using the toolkit. It may be expanded upon in the future as new versions are released.
2. Running Mobius Forensic Toolkit
To begin, follow the instructions in the Installation Guide to install the Mobius Forensic Toolkit.
To run the Mobius Forensic Toolkit, you can use the following command if you have installed it from source code:
mobius_bin.sh
If you have installed the toolkit using the .AppImage bundle file, simply run the file by replacing the version number with the version you have installed:
mobiusft-1.35-x86_64.AppImage
3. Setting up your case
3.1 Creating a new case
To begin using the Mobius Forensic Toolkit, the first step is to create a new case. A case serves as a container for evidence and can represent any investigation or part of an investigation.
To create a new case, click the "New Case" button on the toolbar or select the "File" menu and then choose "New" (as shown in Figure 3.1.1).
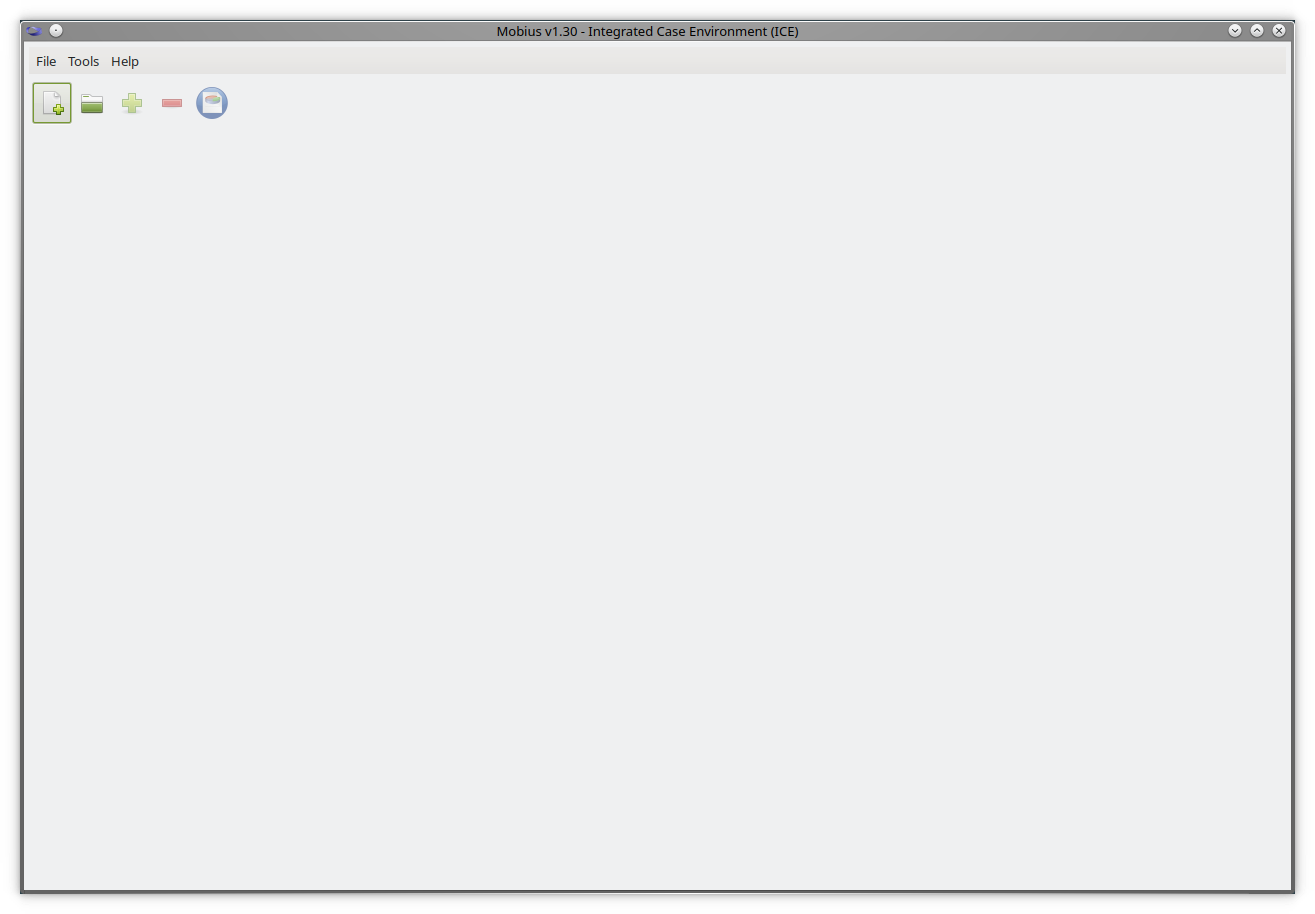
Figure 3.1.1: Mobius Forensic Toolkit Main Window
The "New Case" dialog will appear, allowing you to select a case folder, set the case ID, and set the case name (as shown in Figure 3.1.2). It is recommended to create a new folder for each case. You can edit both the case ID and the case name at a later time. Click the "OK" button to create a new case.
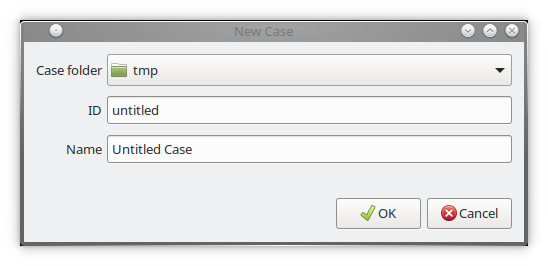
Figure 3.1.2: New Case dialog
After that, the Integrated Case Environment (ICE) window will be displayed (as shown in Figure 3.1.3), displaying your newly created case.

Figure 3.1.3: Integrated Case Environment window, showing a new case.
You can edit the case ID and case name by clicking on the "Attribute Viewer" icon and then clicking on the case object on the left side of the window (as shown in Figure 3.1.4).
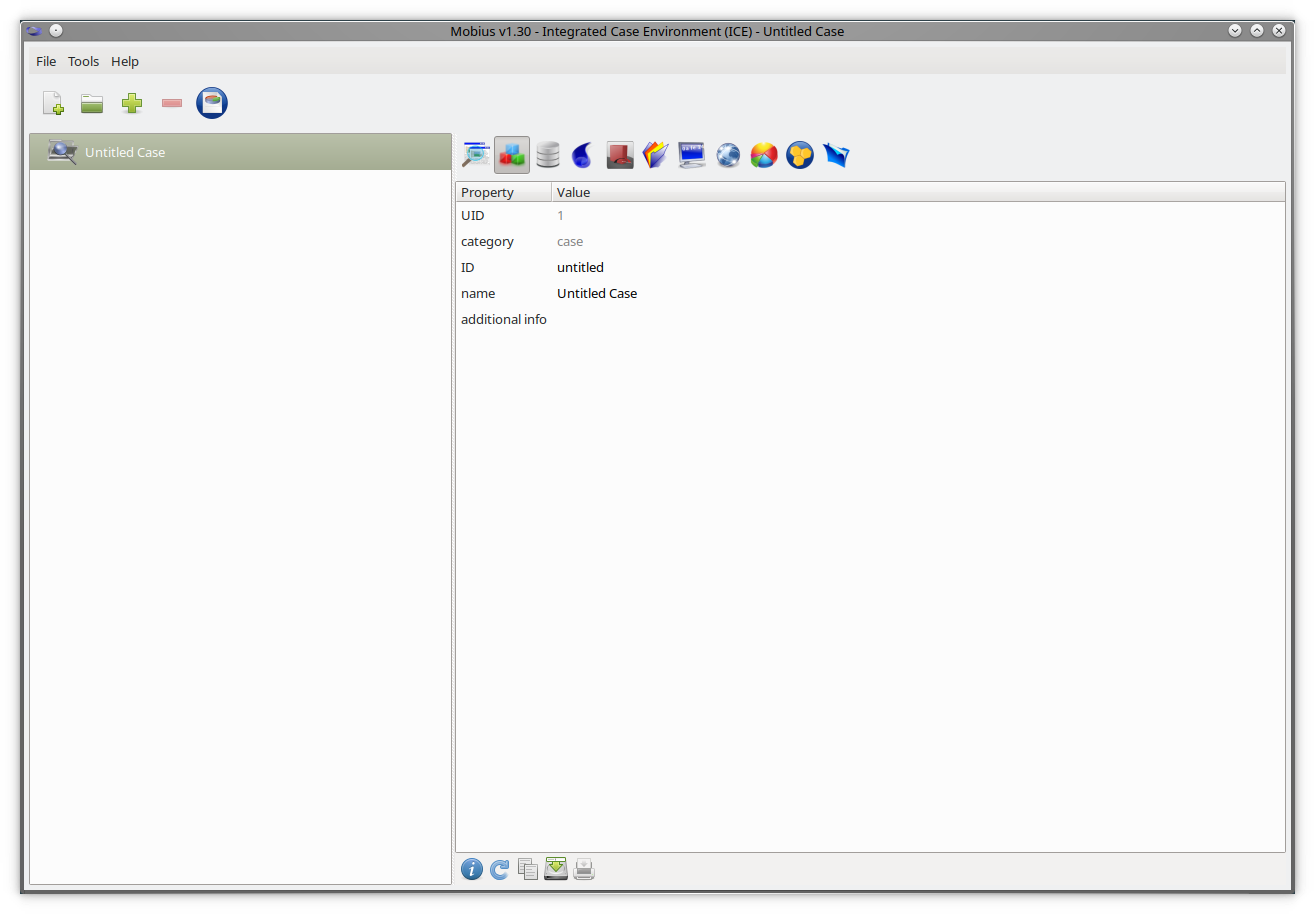
Figure 3.1.4: Showing and editing case attributes.
3.2 Adding items to your case
Once you have successfully created a new case, you can start adding evidence to it. Evidence is organized in categories such as harddisk, floppy, etc. You can also create new categories as needed.
To add an item, first click on its parent item, which can be the case item or any item that you have already added. Click on the "Add item" tool button. This will open the Add Item dialog (as shown in Figure 3.2.1).
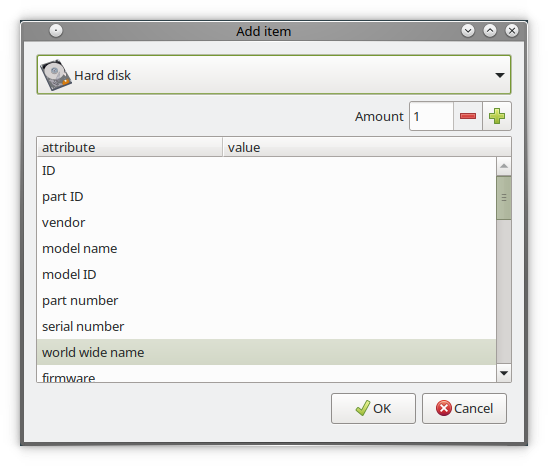
Figure 3.2.1: Add item dialog.
Select a category and optionally specify the number of items to create at once. You can also set some common attributes for the items being inserted. The "Generic" category can be used to represent anything without having to create a new category. This category is often used as a container, for example, to represent a place (such as "John Doe's") or a document (such as "Investigation Request 055"). You can also use the "Set" category to group items. For example, to group 15 suspect DVDs, you can create a set and add 15 DVDs to it. In the example shown in Figure 3.2.2, we have created 5 DVDs.
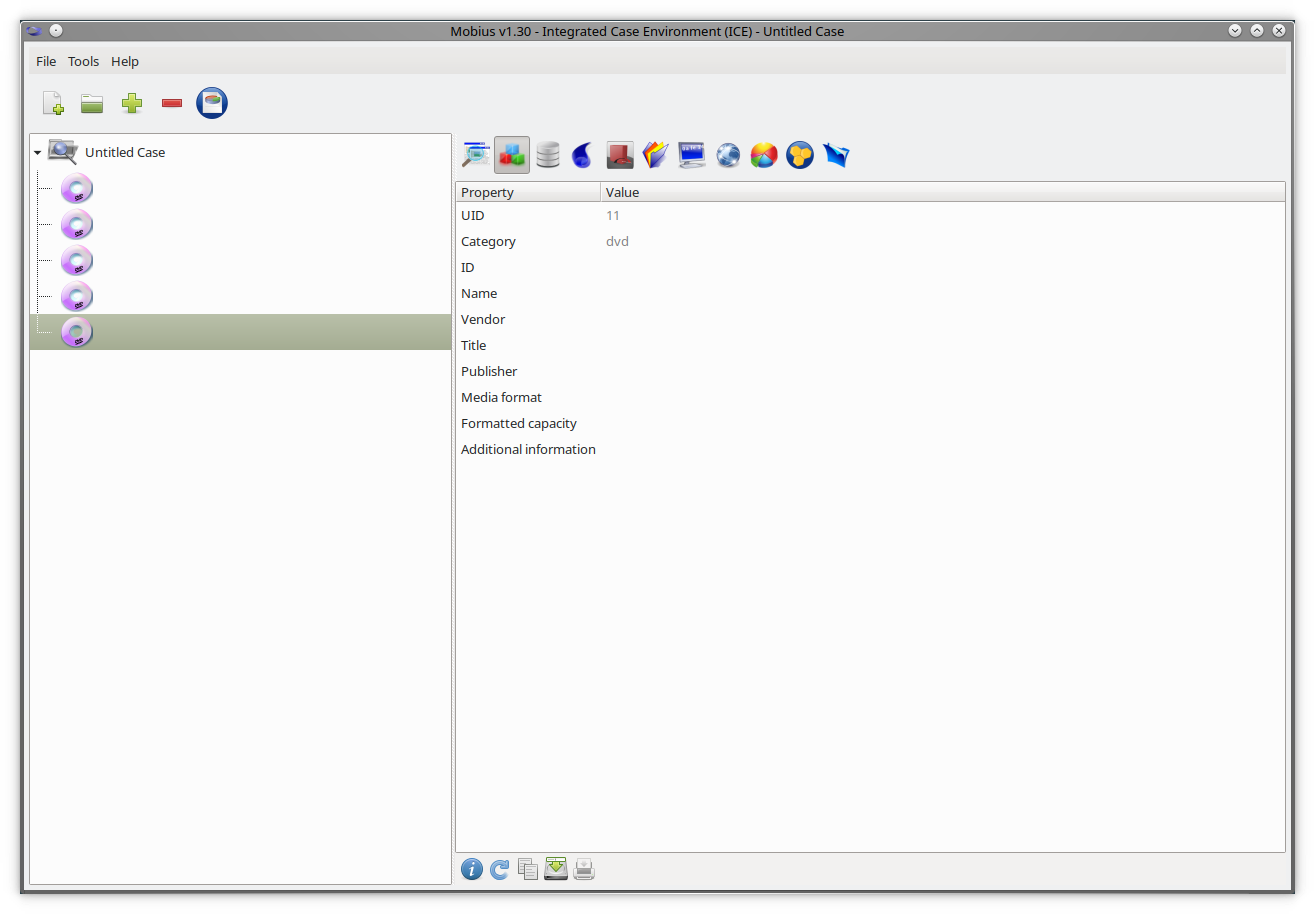
Figure 3.2.2: New items added to case.
Alternatively, you can simply drag and drop a file directly into the case treeview, over any item, to create a file object. Some files have special meanings when dragged. For example, .E01 files are decoded and a hard disk item is created with associated attributes and a "EWF" type data source, rather than a file item.
4. Managing datasources
Each case item can have associated datasources. A datasource is an object that represents a stream of bytes, and can be either an image file or a physical device.
As mentioned in section 3.2, when you drag and drop a file to create an item, two objects are actually created: an item and an associated image file datasource that points to the file URL.
To manage datasources, click on the "VFS Viewer" icon. This view can be used to associate or disassociate datasources from an item, change datasource attributes, and export datasources (as shown in Figure 4.1.1). Click on an item to view its datasources.
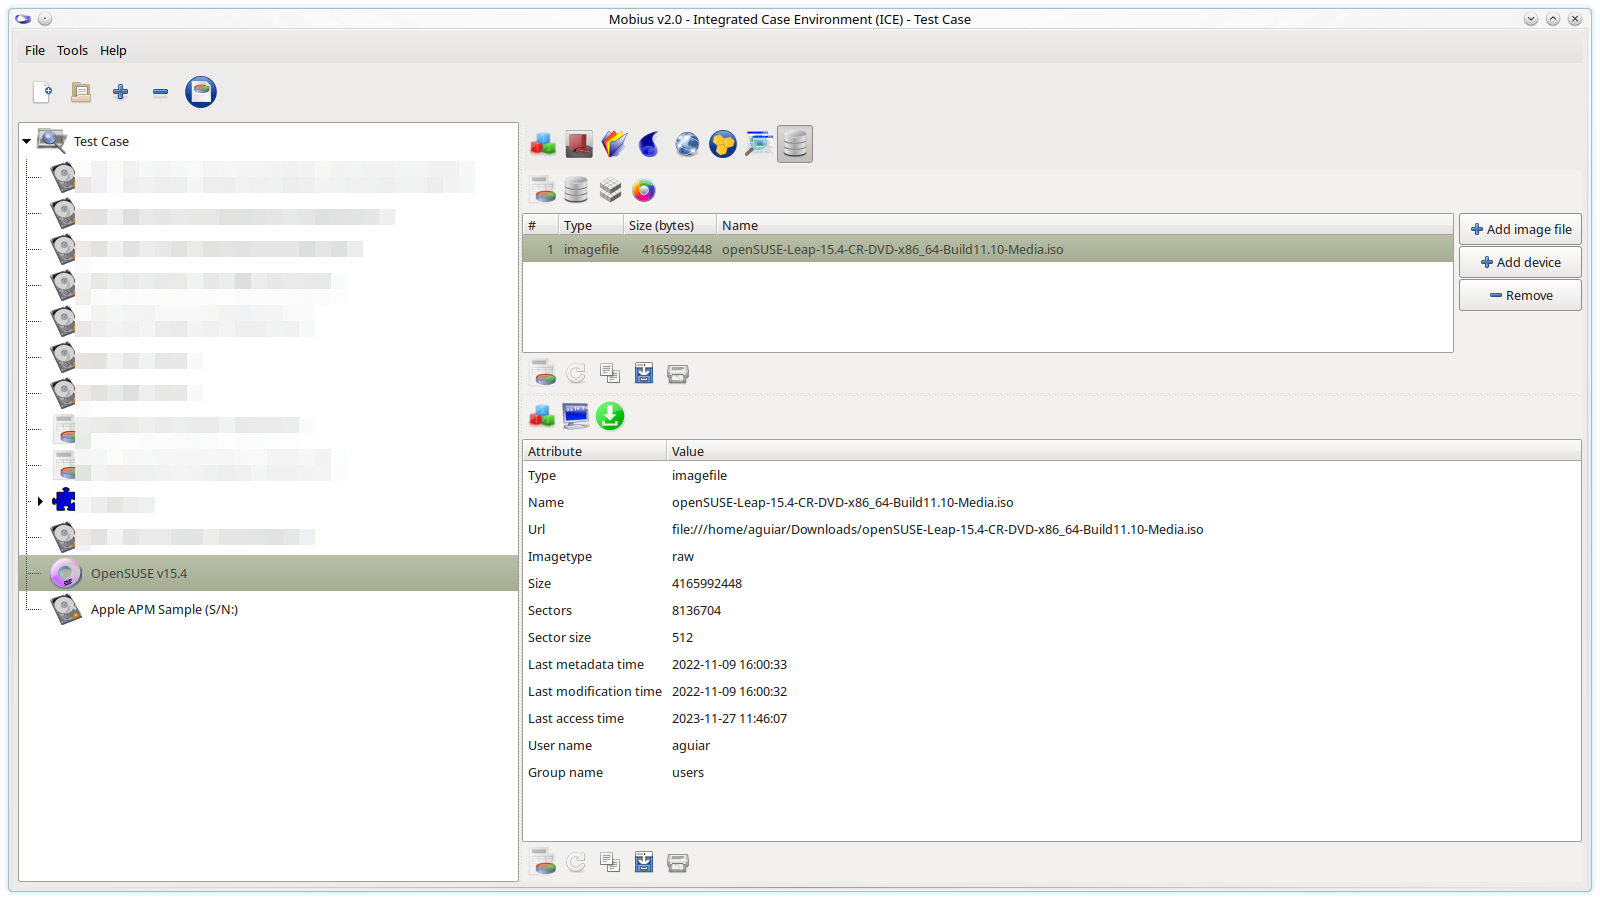
Figure 4.1.1: VFS Viewer showing datasources associated to case item.
Using VFS Viewer, you can view data from each datasource and from each data block detected by the VFS module (as shown in Figure 4.1.2). To jump to a specific address, press the "CTRL+J" key, enter an address or any valid python expression (such as "0x2000 * 35 + 43"), and then click "OK".
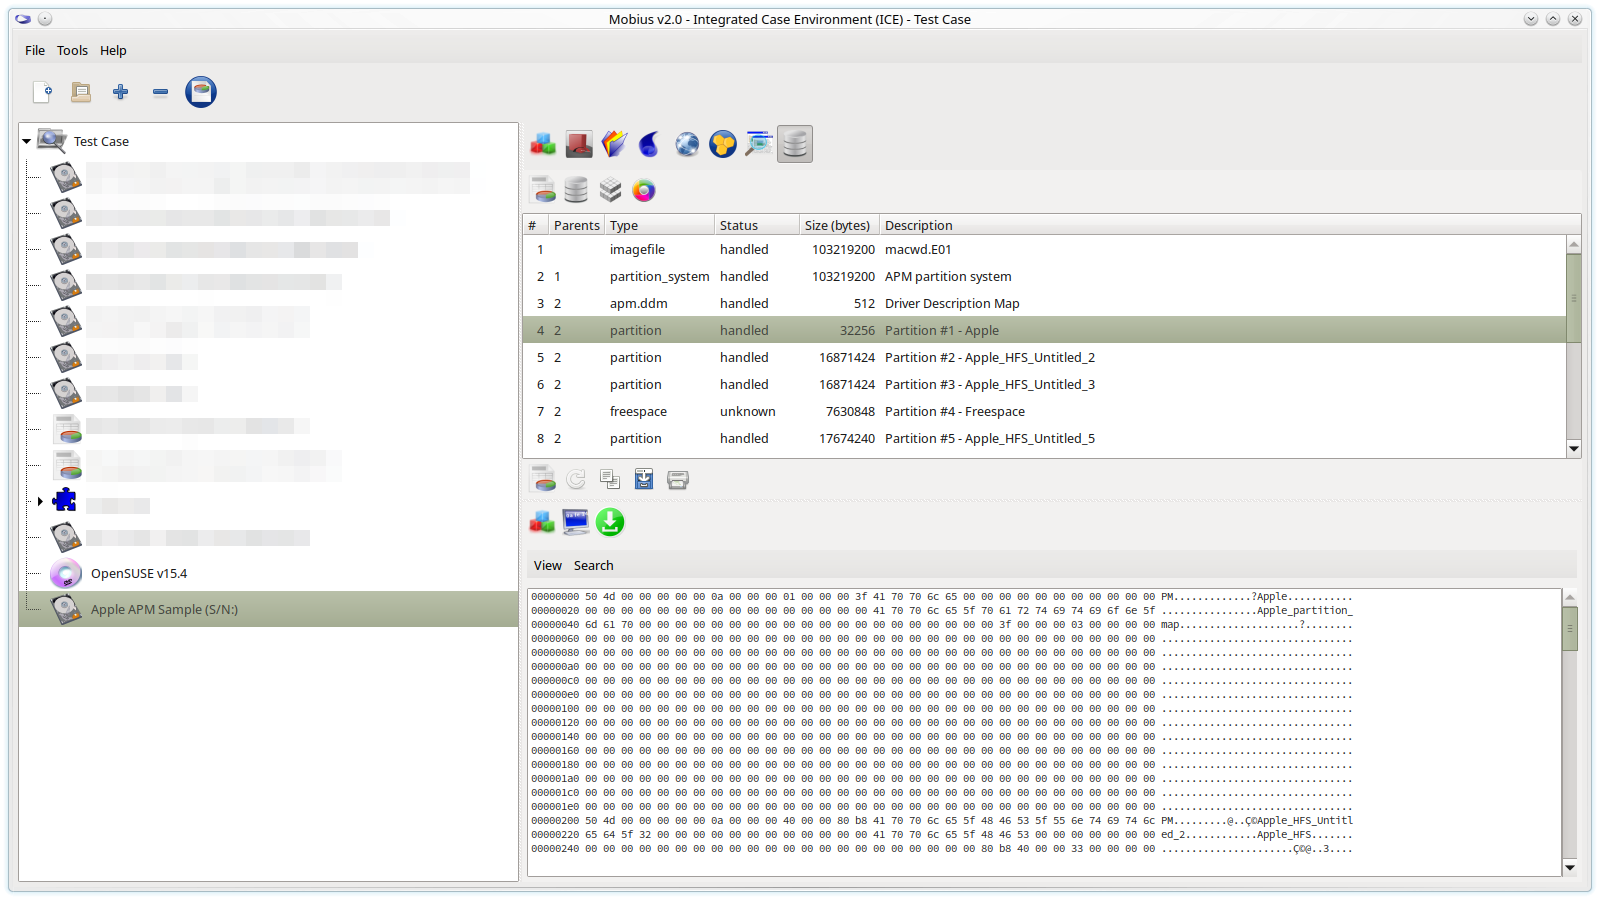
Figure 4.1.2: VFS Viewer showing data from a data block.
5. Browsing registry files
The Hive extension is used to retrieve and to browse registry files. The first time an item is selected, the extension retrieves all registry files from their designated folders and saves them in a cache folder. The cached files are used each time the item is selected thereafter.
The "Hive files" panel displays the files that were found (as shown in Figure 5.1.1). You can use the "Export data" option to save these files to any local directory.
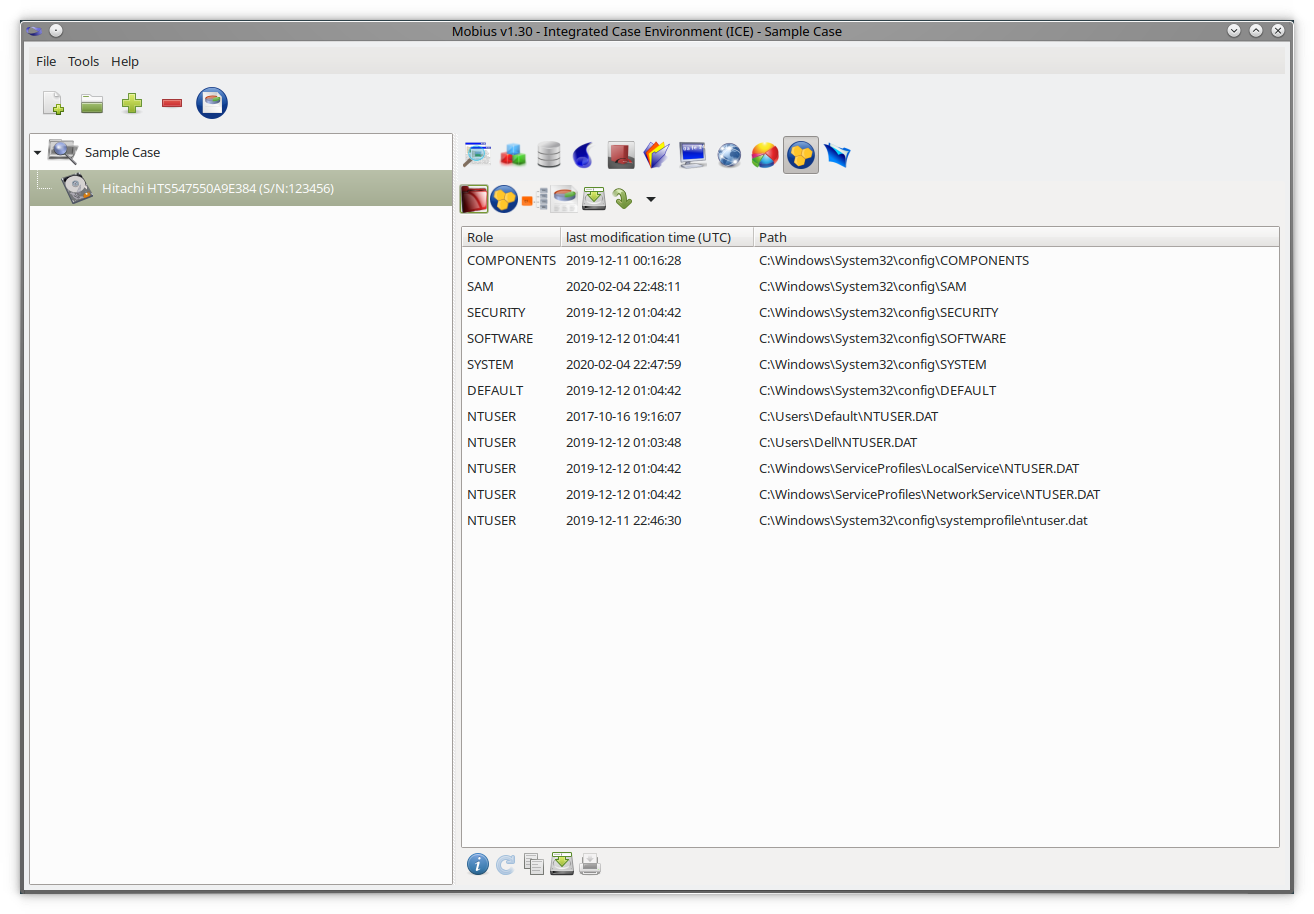
Figure 5.1.1: Registry files retrieved.
The "Registry" panel displays the reconstructed registry, similar to how it would appear when using the regedit tool on the original system (as shown in Figure 5.1.2):
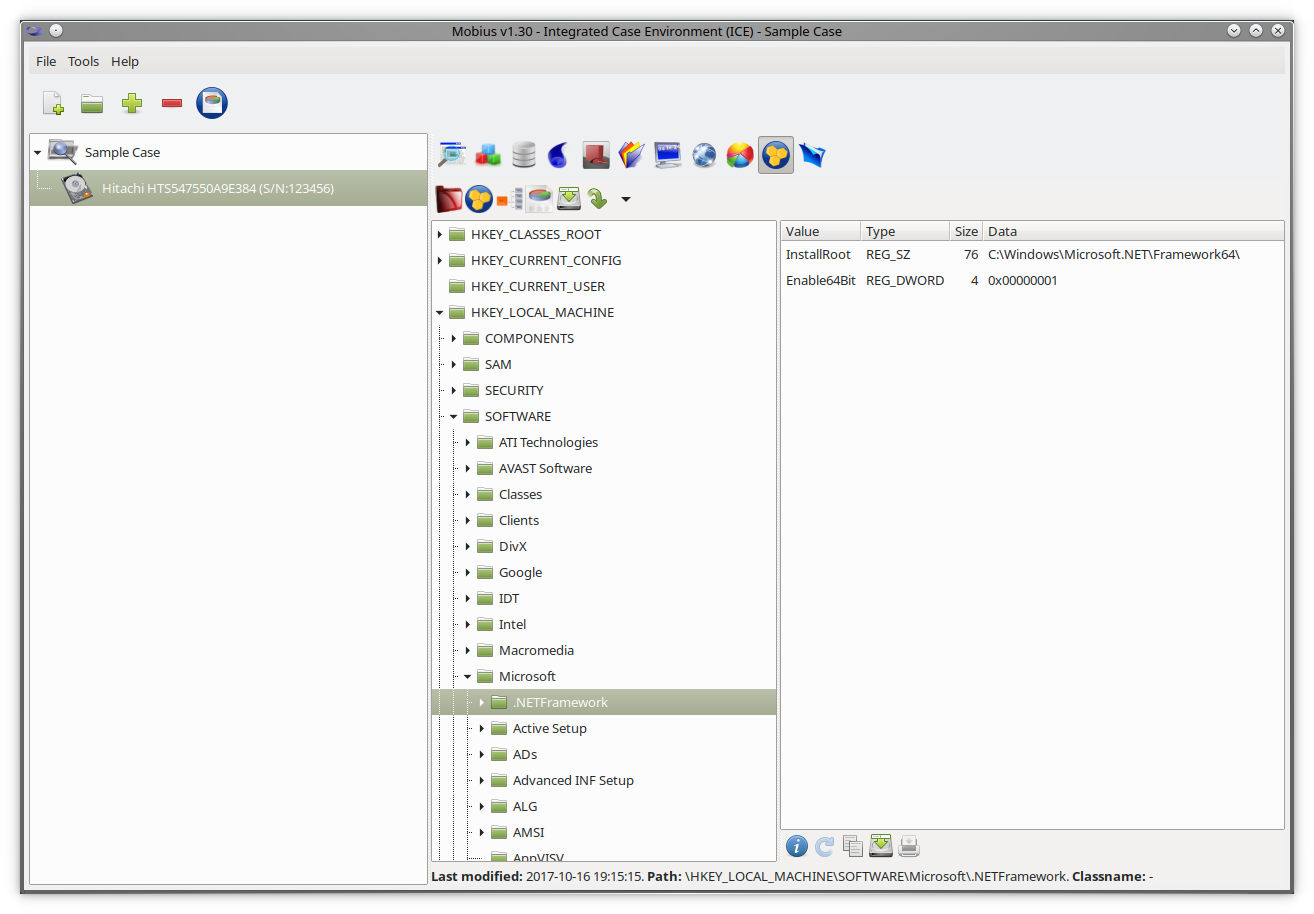
Figure 5.1.2: Registry logical structure view.
The "Physical files" panel allows you to navigate through each individual registry file that has been previously retrieved by the Hive extension (as shown in Figure 5.1.3):
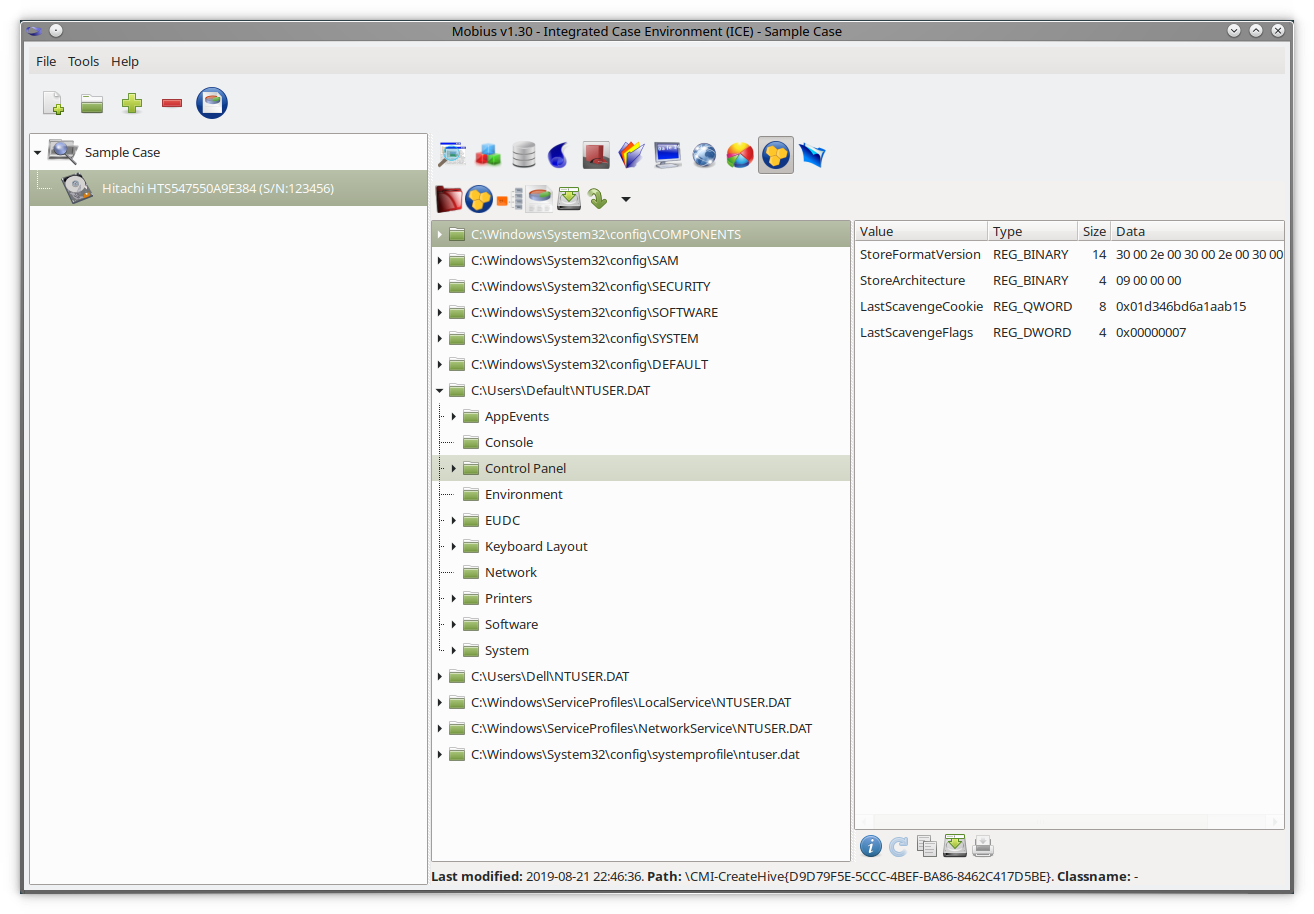
Figure 5.1.3: Registry physical structure view.
The "Reports" panel offers a variety of reports (as shown in Figure 5.1.4):
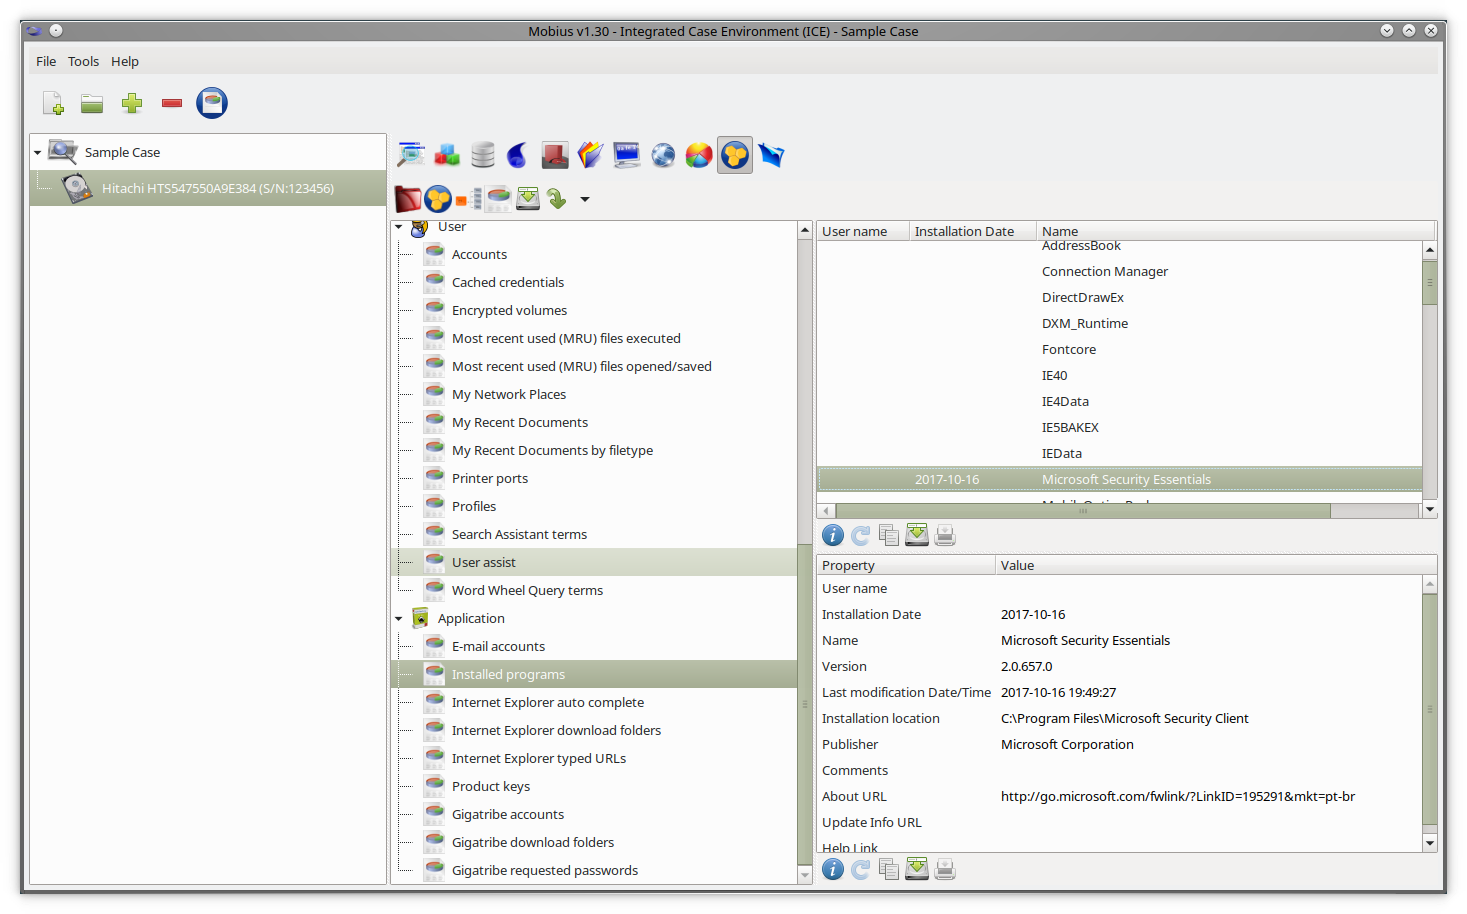
Figure 5.1.4: Registry reports.
6. Browsing evidences
The Evidence Viewer extension is used to retrieve and browse evidence. It has two main panels: a list view (as shown in Figure 6.1.1) and an icon view (as shown in Figure 6.1.2). Both panels list the available evidence types, whether data has been retrieved, and the number of items found. To add an evidence type to the toolbar, double-click it, and to remove the current view from the toolbar, click the "close" icon.
When an evidence type is clicked for a given item for the first time, the Mobius Forensic Toolkit will retrieve all available data for the applications that it supports (a list of supported applications can be found here). Once the data has been retrieved, it can be viewed immediately.
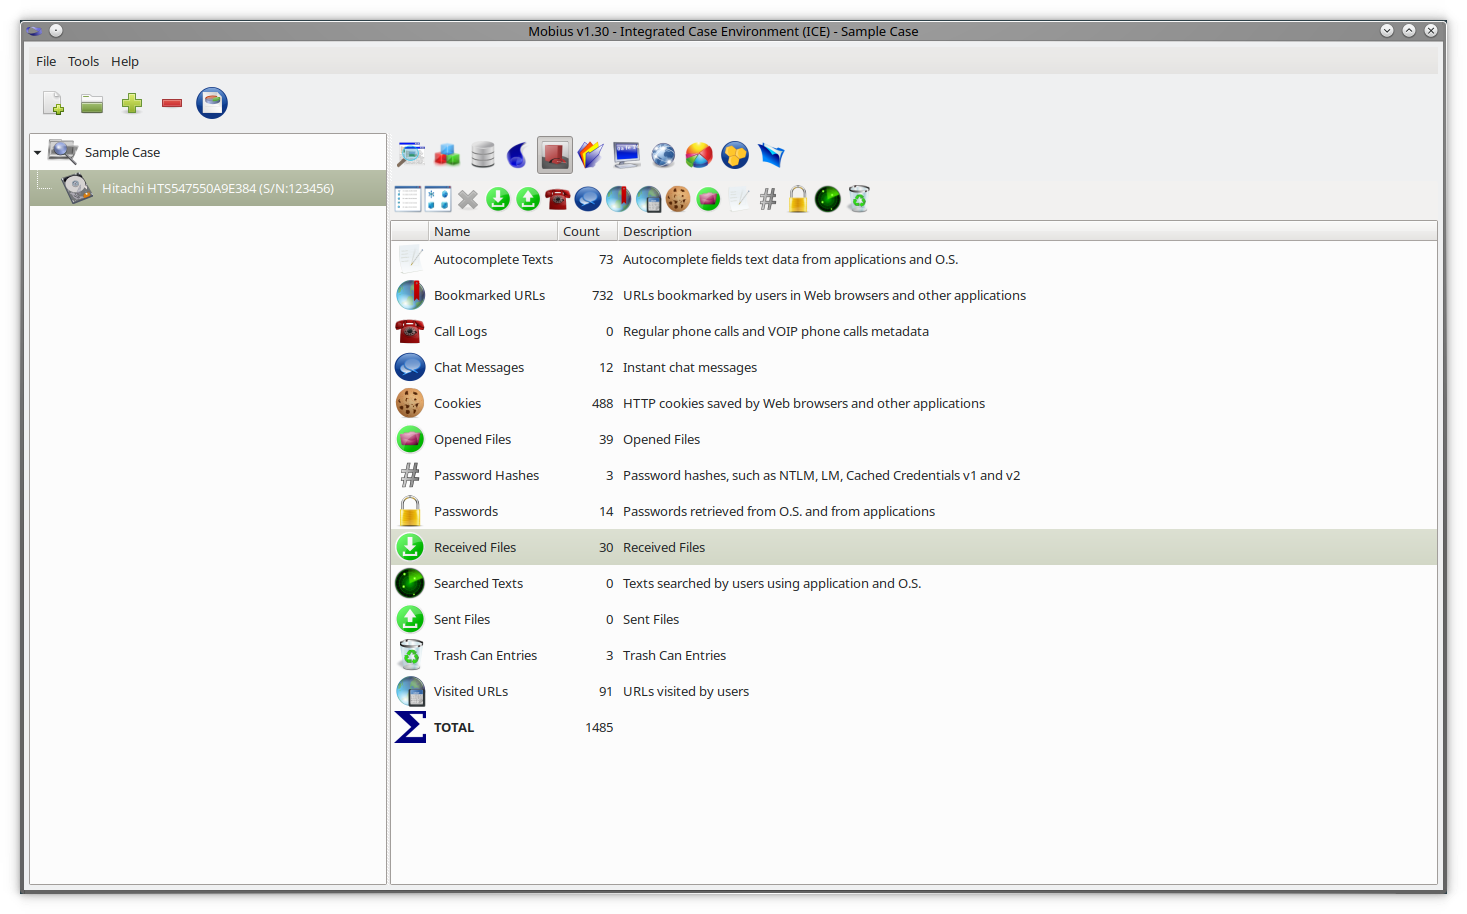
Figure 6.1.1: Evidence list view.
Figure 6.1.2: Evidence icon view.
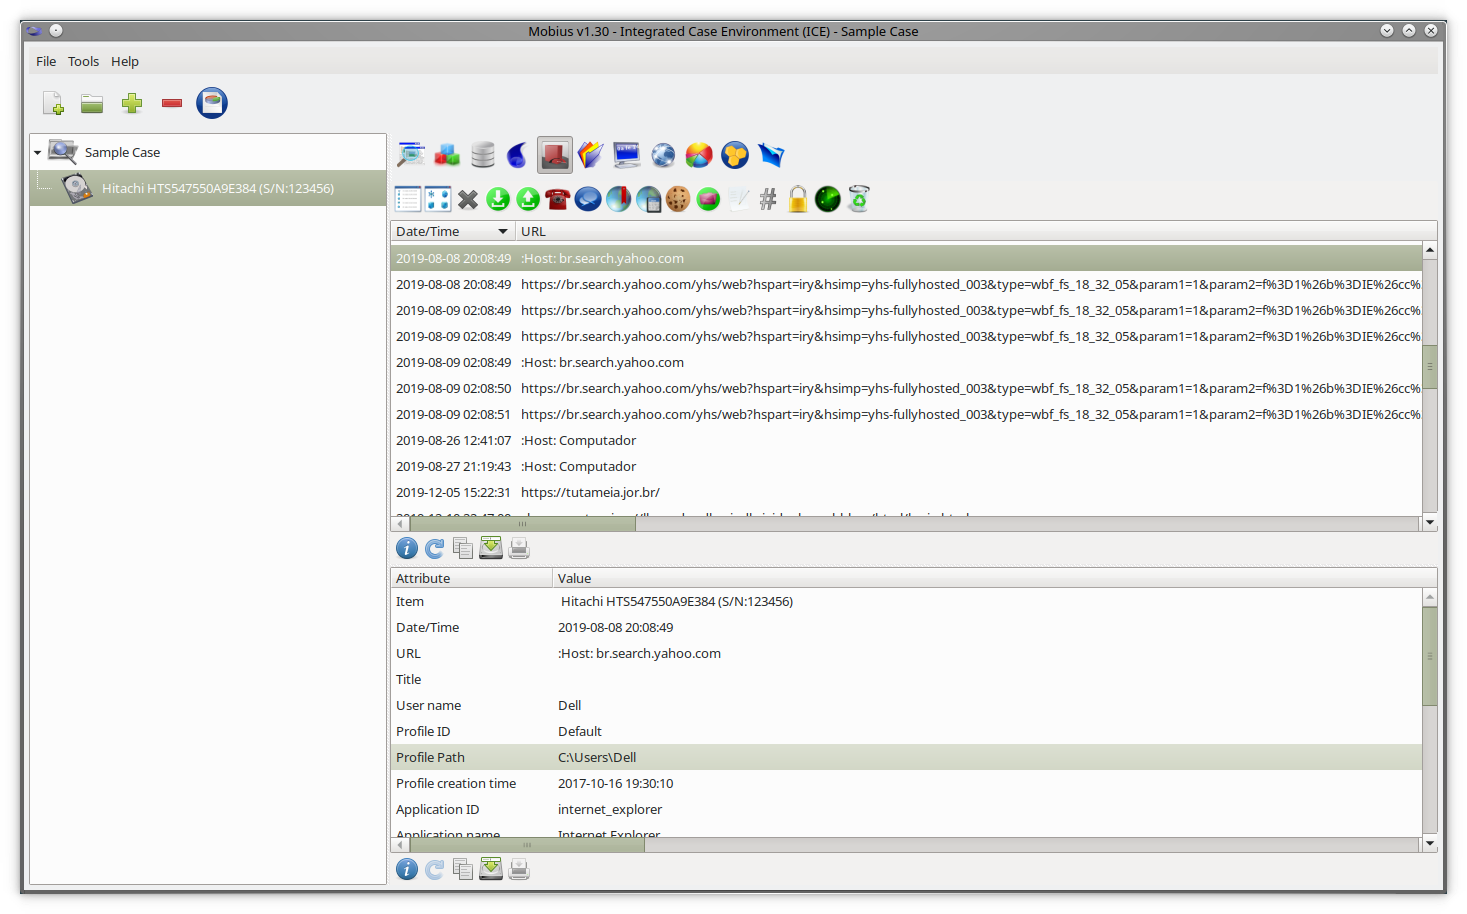
Figure 6.1.3: Visited URLs.