Slag - Tutorial
Slag is quite intuitive to use except maybe for two things: pad volumes and the so called part linking feature.
First, if you didn't noticed already: pad volumes can be set by right clicking on a pad and moving the mouse or by using the mouse wheel over a pad. Then, let's see together how part linking works.
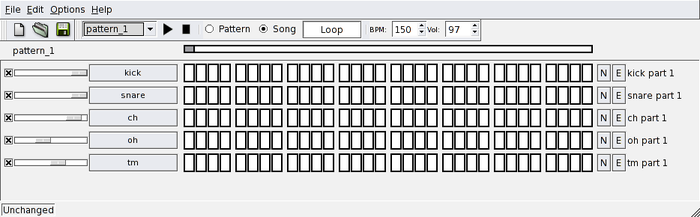
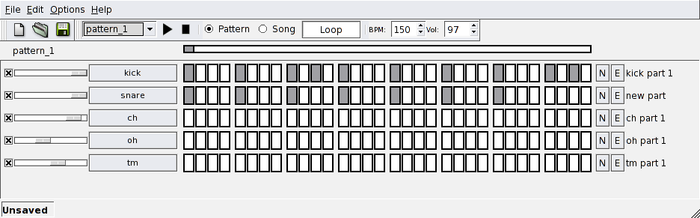
Start with a blank song, for example by clicking New in the File menu :
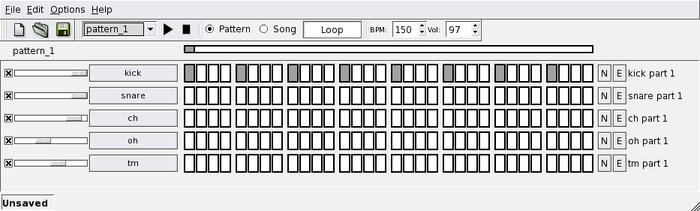
Click E, go to the Edit submenu and choose 1/4. You now have a simple part with one active pad out of four.
Then click on the E button of the track above and choose Link to, then kick_part_1.
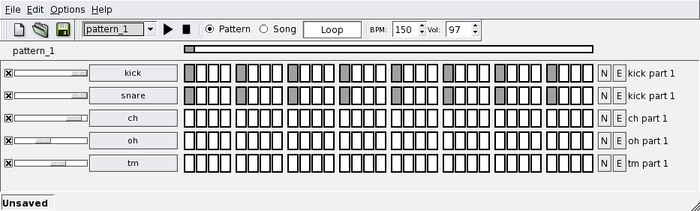
You just have linked two tracks together. Try to edit one, and you'll see the other one modified exactly the same way. Actually, it is the same part.
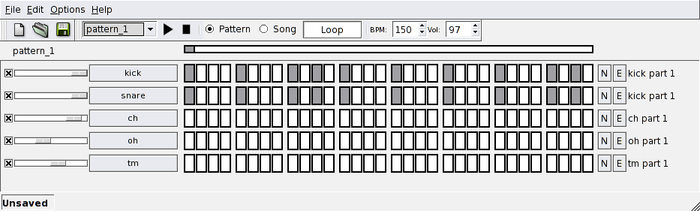
You can make such links anywhere in the song, it works also between different patterns. Then imagine you have a link to a part somewhere, but now you want to turn it to a different new part. Go to E -> Copy -> kick_part_1, choose a new name, for example "new part", and click Ok.
Try to edit, the new part, it's not linked anymore. If you delete a part by clicking E -> Delete, all links are suppressed too. Remember these are just views of the same part object. To create a new blank part, just click the button N, a default name is suggested, which is actually a number. Type another name if you like and accept.
As you'll notice, when you create new patterns, they don't have any part associated with them. You have to create new ones or link to existing.