 RAPID
TutorialRAPID
Tutorial
RAPID
TutorialRAPID
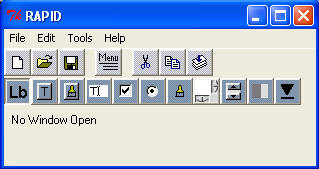
TutorialStep 1: Open RAPID. A window such as the following will appear:
Step 2: Push the new ![]() button (the leftmost button on the top row). The following window appears:
button (the leftmost button on the top row). The following window appears:
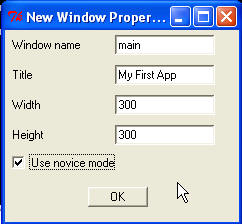
Fill in the name and title as shown above. Recall that you must have a window named "main", which is the main window of your application.
Step 3: Click the label selector
![]() (leftmost of bottom
row of buttons) and then click and drag out a rectangle where you want a text
label to appear.
(leftmost of bottom
row of buttons) and then click and drag out a rectangle where you want a text
label to appear.
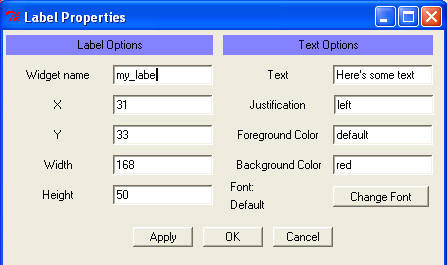
Step 4: Fill in the label properties window (name, text, justification and colors). Note that the widget name must be a legal Ada variable name. Justification may be left, center, or right. For colors, you can pick "default", or the name of a color (Red, Pink, Green, LightGreen, DarkGreen, ForestGreen, Blue, LightBlue, DarkBlue, Cyan, LightCyan, Purple, Magenta, Yellow, LightYellow, Orange, Gray, LightGray, DarkGray, Brown, Black, White). These colors are found in mcc-tki-colors.ads (in the mcc_gui folder).
Step 5: Let's go ahead and build this application. Hit the save
![]() button and when the
dialog comes up, save your work. Note that the code will be generated in
the same folder where you create the .GUI file. Now hit the compile
button and when the
dialog comes up, save your work. Note that the code will be generated in
the same folder where you create the .GUI file. Now hit the compile
![]() button.
Compilation is extremely fast, so you may think nothing happened. You
should now have main_window.ads and
main_window.adb in the folder you created.
You now need to add a main program (see
main_program.adb) or below:
button.
Compilation is extremely fast, so you may think nothing happened. You
should now have main_window.ads and
main_window.adb in the folder you created.
You now need to add a main program (see
main_program.adb) or below:
with
Main_Window;use
Main_Window;with
Mcc.Tki.Container.Window;
procedure
Main_Program isbegin
Main_Window.Generate_Window;Mcc.Tki.Container.Window.Event_Loop;
end
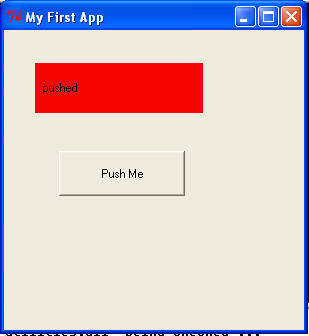
Main_Program;Compile, build and run. You should get the following application window:
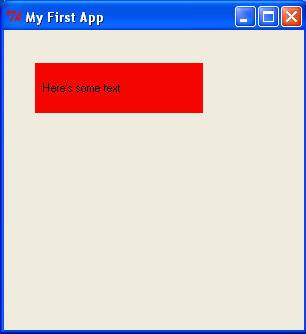
Note that the program exits when you click the X in the upper right corner of this window.
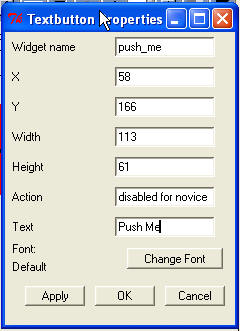
Step 6: Now let's add a text button. Go back to the RAPID window,
push the text button ![]() button, and draw another rectangle. Fill in the textbutton properties
window as shown:
button, and draw another rectangle. Fill in the textbutton properties
window as shown:
When you save and compile, RAPID automatically generates main_actions.ads and main_actions.adb. You simply need to fill in the body of the procedure "push_me_Pushed", which has been automatically generated for you, and which will be called each time the button is pushed. We provide a completed body here (it should be saved as main_actions.adb).
Now your program will toggle the text in the label each time the button is pushed. Note also that we reference the label as Main_Window.My_Label (My_Label was the name we picked for the label in RAPID). We also looked at mcc-tki-widget-label.ads to find the Set_Text method and its parameters.
Look in the example folder for an example using menus, and also involving a single application with two windows.